
Getting Started
Welcome to Maktaba (مکتبہ) — a simple way to keep all your ebooks organized on your own computer, with a built-in reader, no accounts, and no internet connection required.
This guide walks you through everything you need for your first few minutes with Maktaba. If you'd rather be guided step-by-step inside the app itself, click the Help button (the "?" icon) in the title bar to open this guide in its own window, then click Replay Getting Started Tour at any time.
1. Open Maktaba for the first time
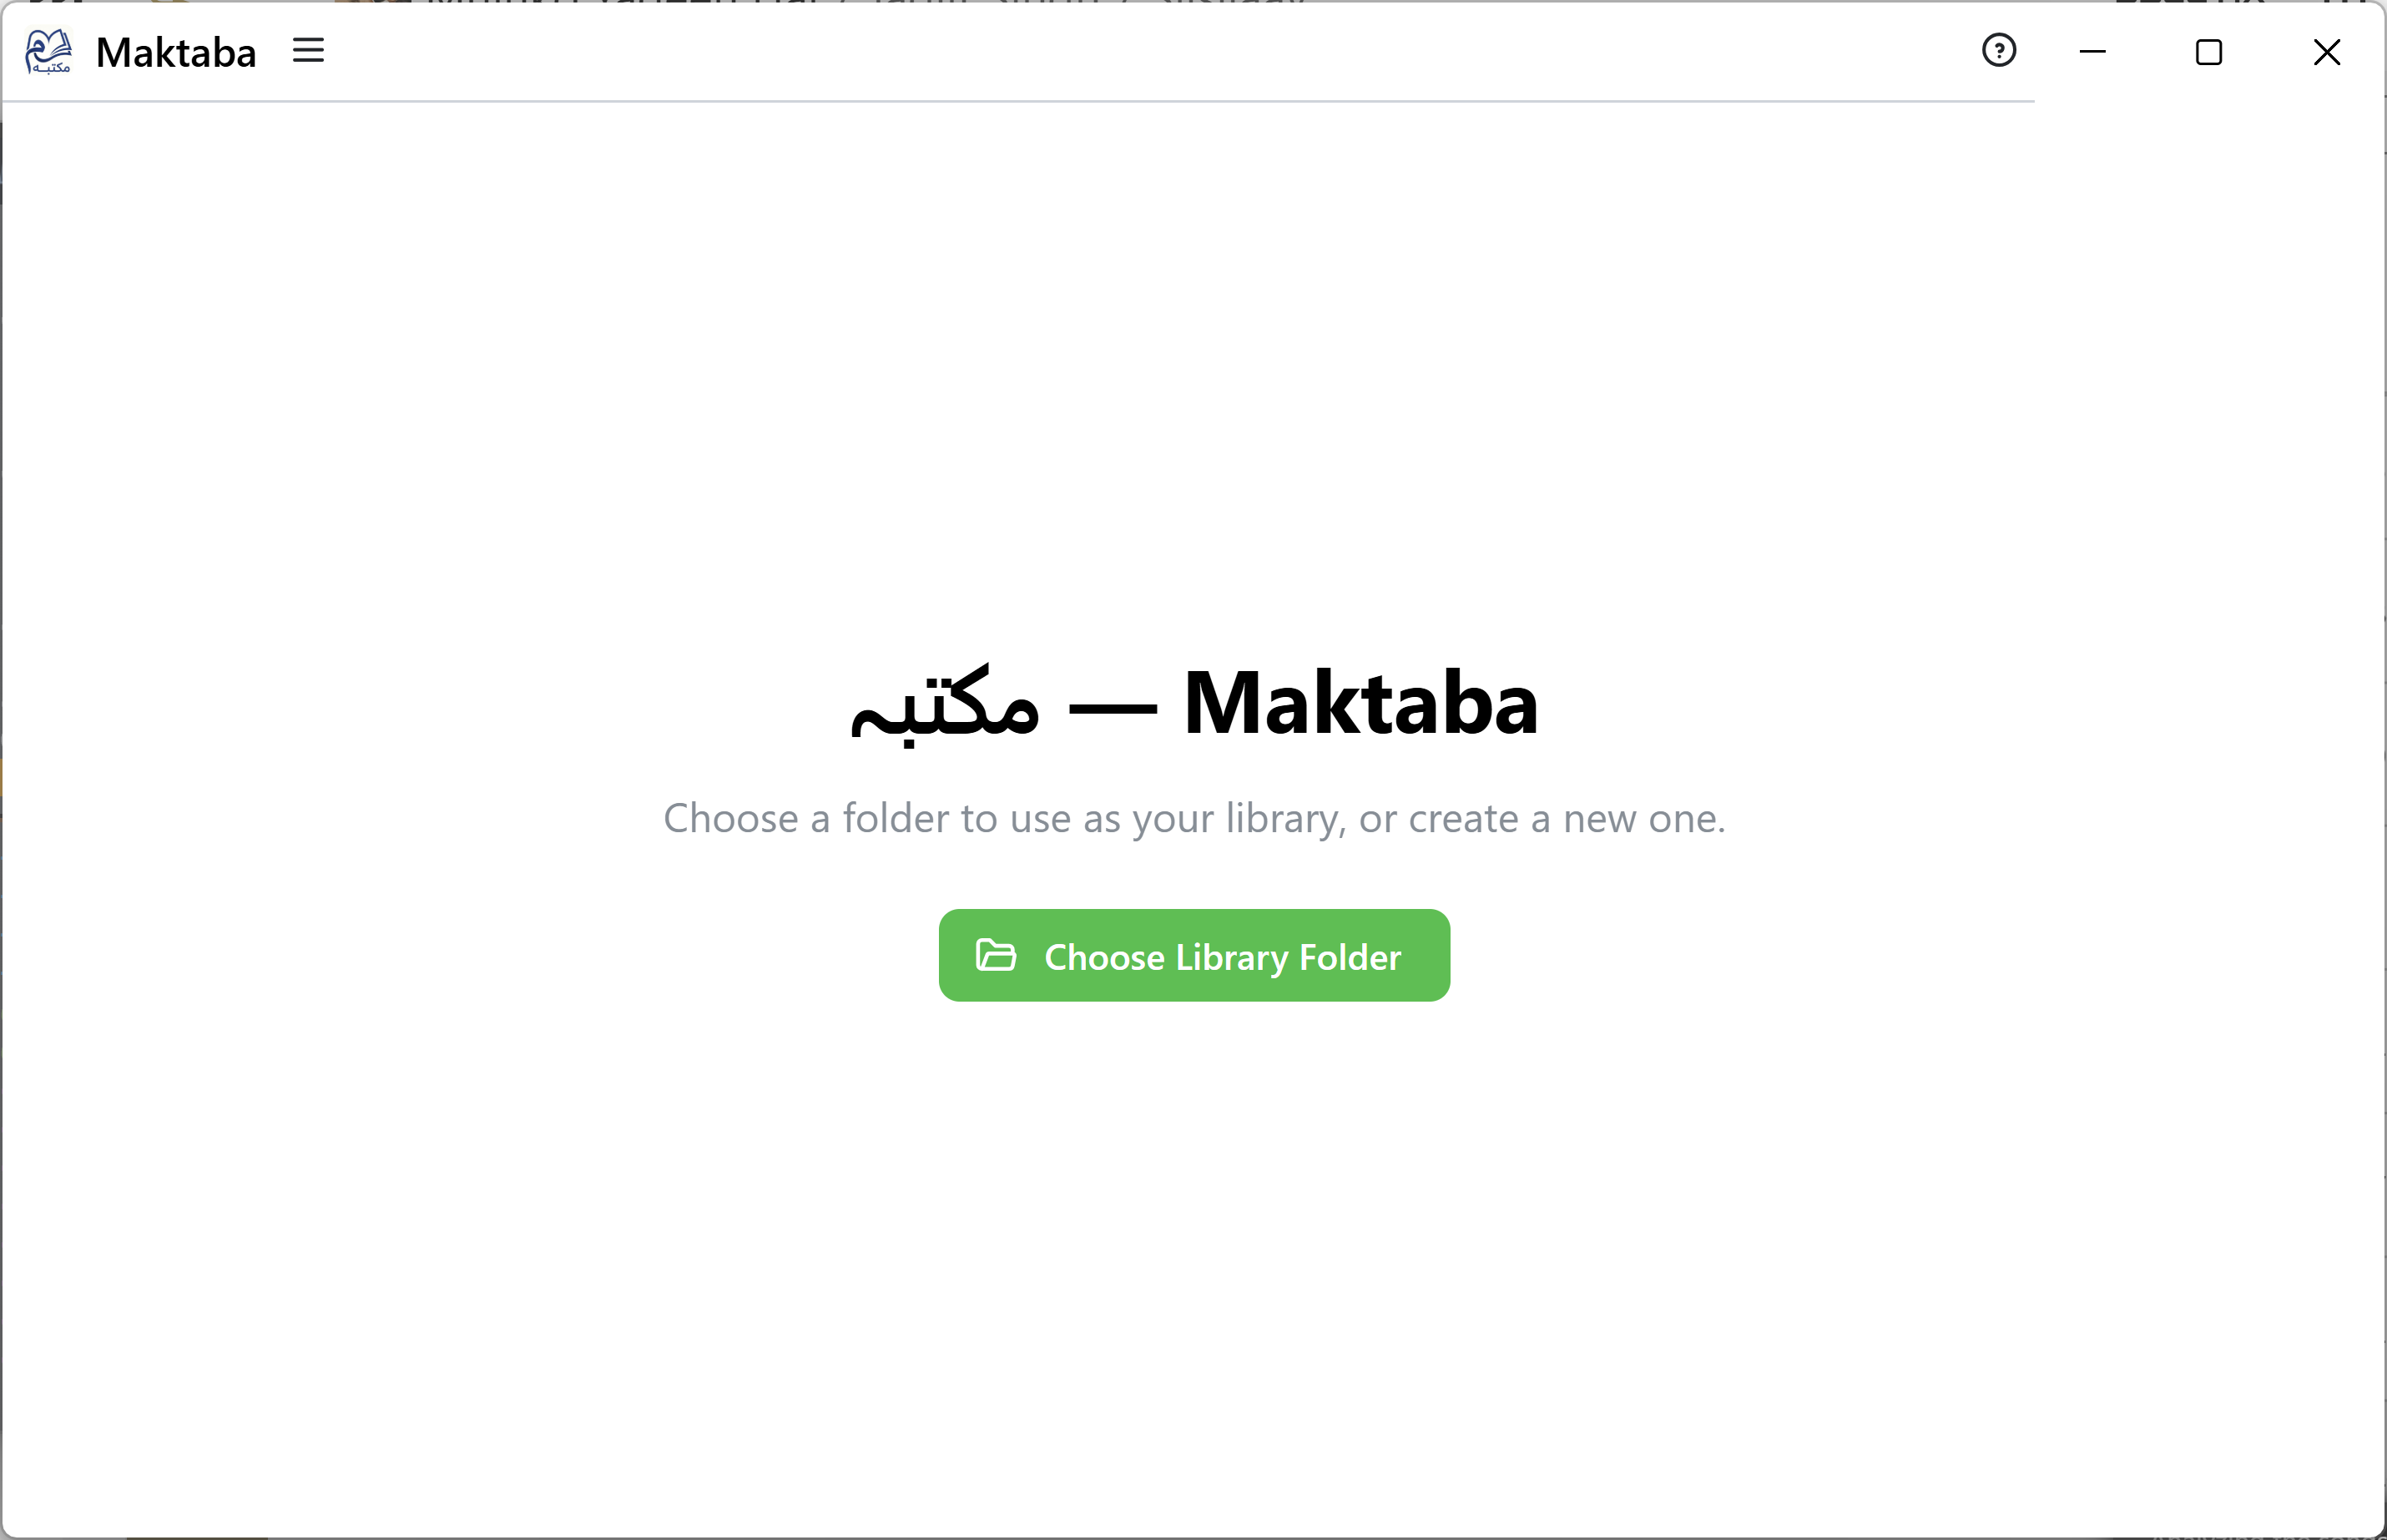
The first time you open Maktaba, you'll see a simple welcome screen.
2. Choose where your books will live
Maktaba keeps your books in a library — a folder on your computer that you choose. This can be an empty folder to start fresh, or an existing folder where you already keep ebook files.
- Click Choose Library Folder.
- Pick (or create) a folder — for example, a folder called "My Books" in your Documents.
- Maktaba opens that folder as your library. If it already contains ebook files, Maktaba offers to add them for you right away.
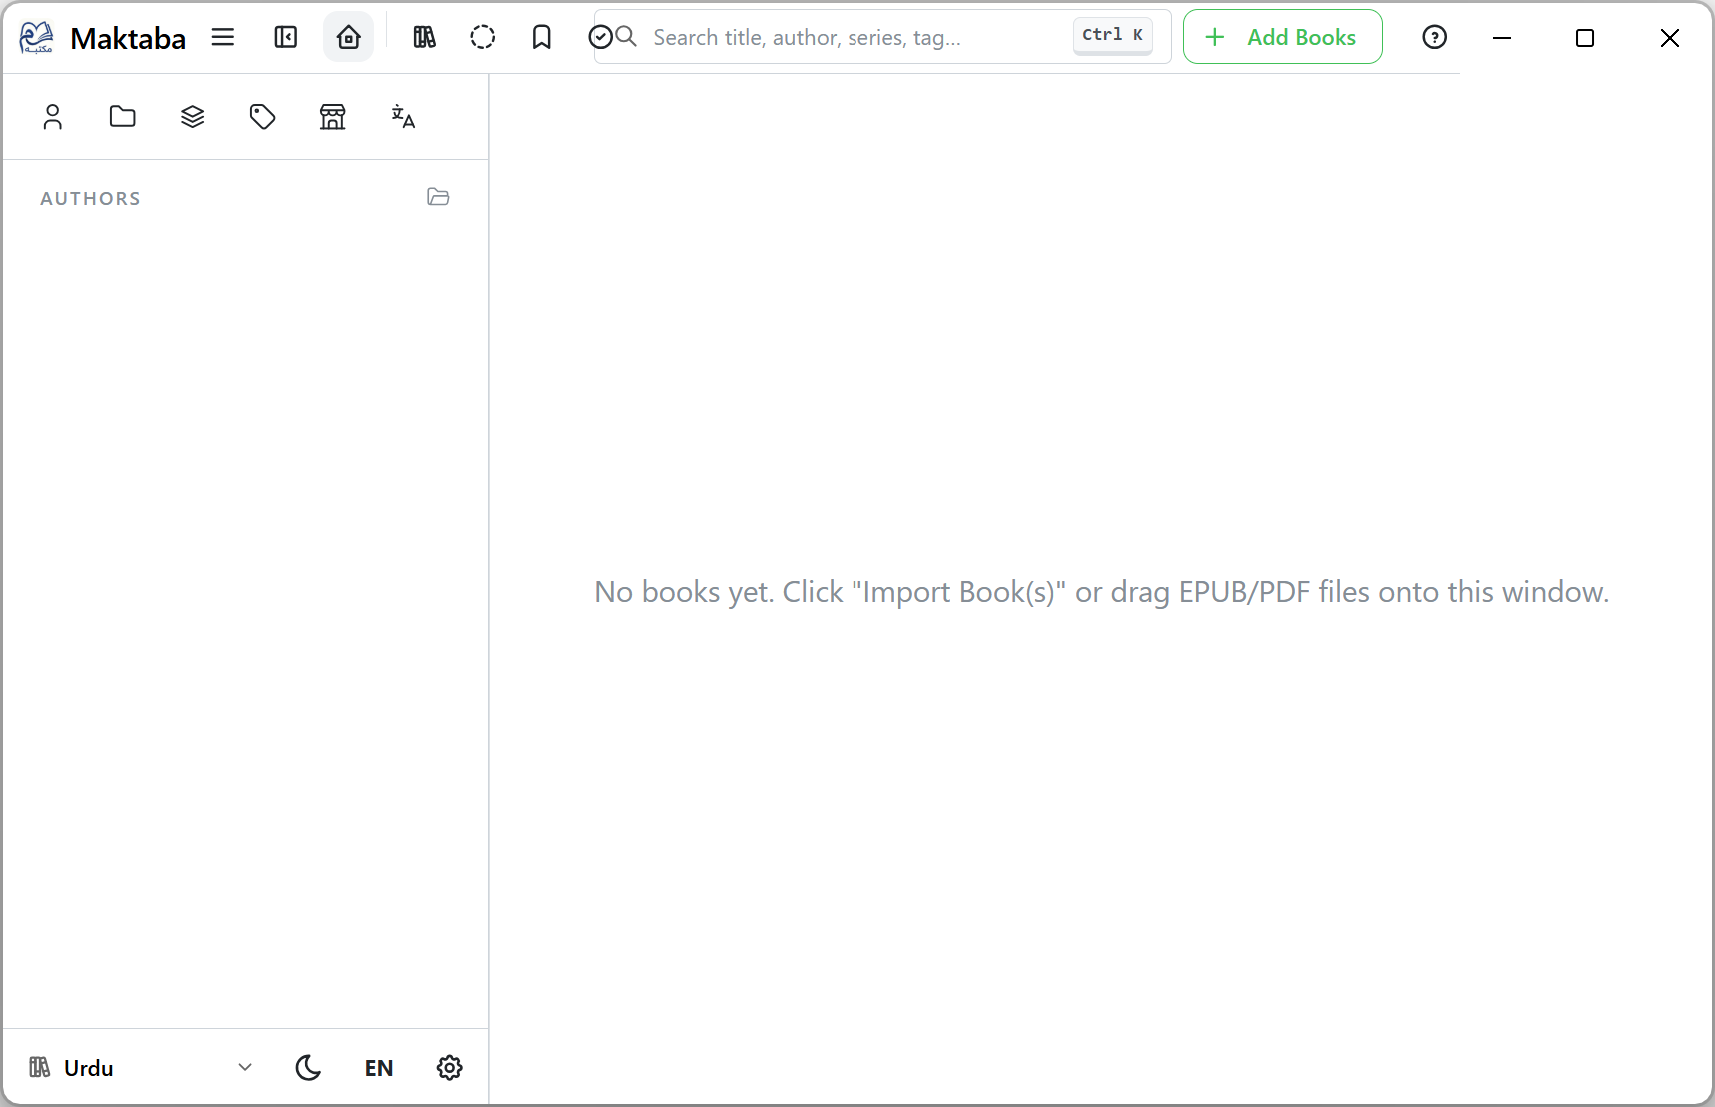
Tip: You don't need to organize files inside this folder yourself — once a book is added, Maktaba organizes the folder for you automatically.
3. Add your books
You can add books at any time by dragging EPUB, PDF, DOCX, or TXT files into the Maktaba window, or by using the Add Books button. See Importing Books for the full walkthrough.
4. Browse and read
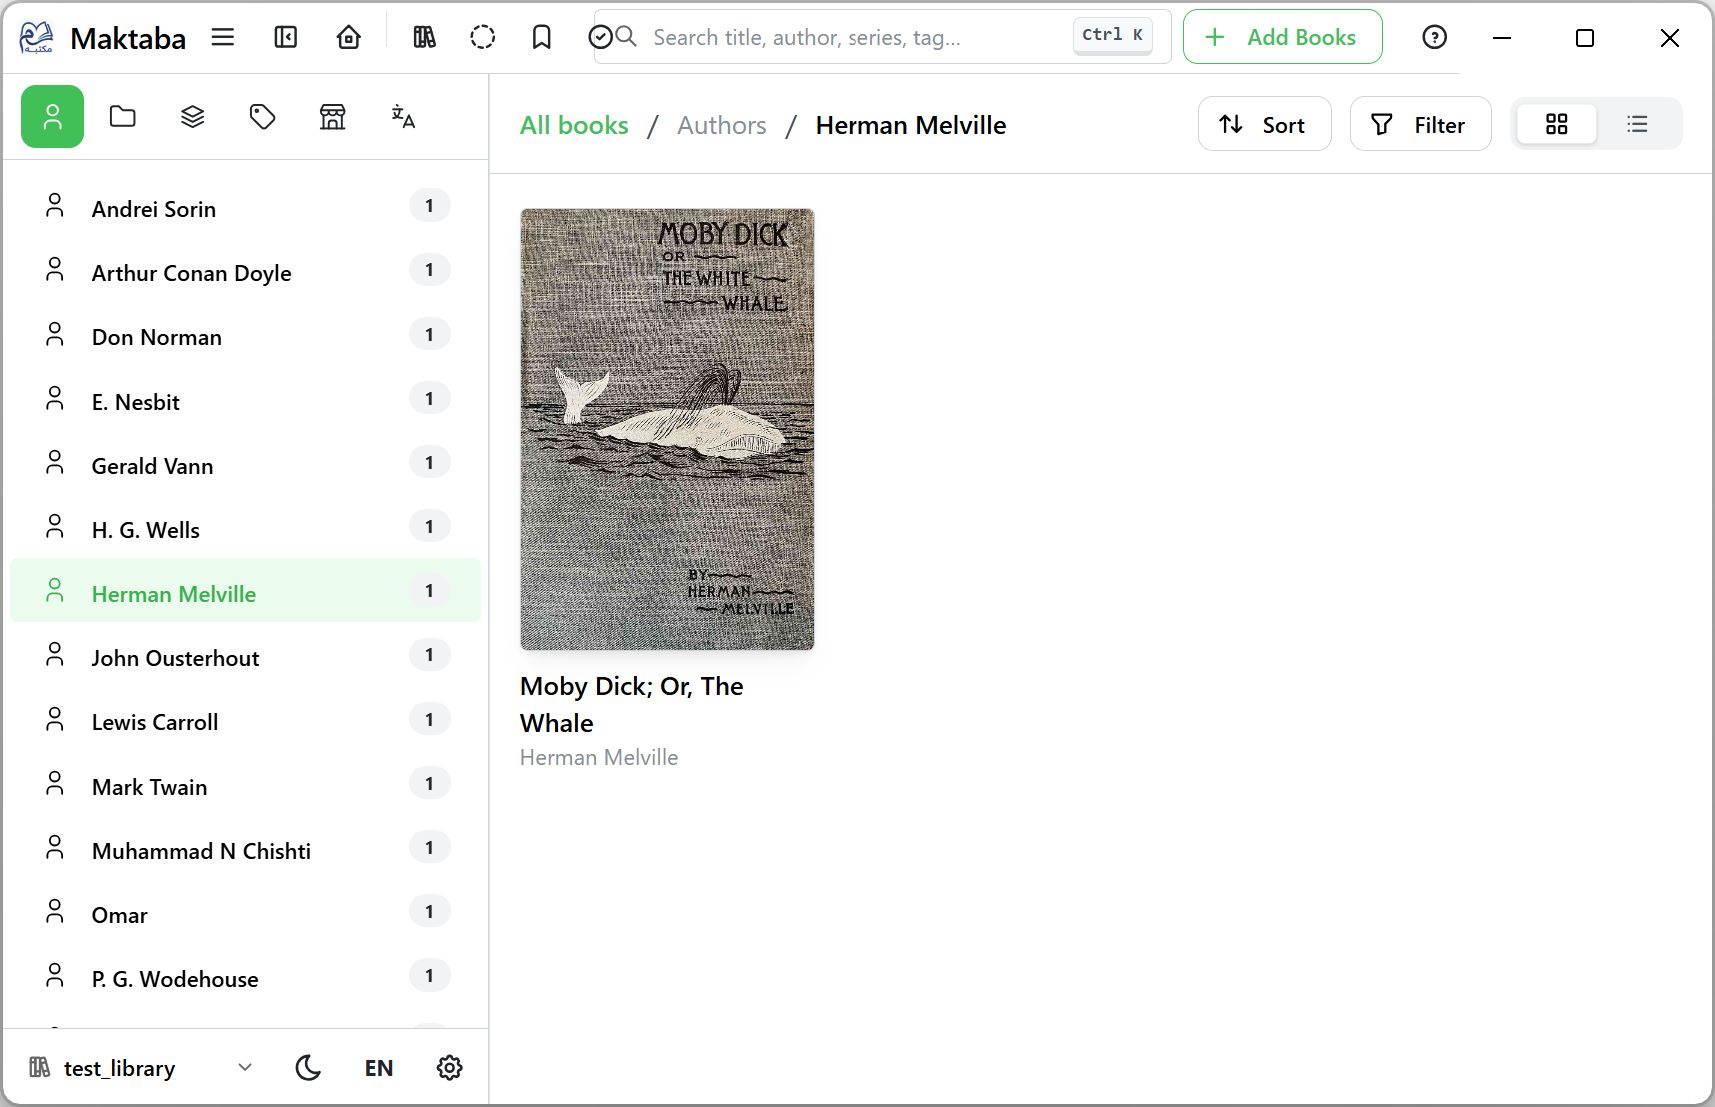
Once you've added a few books, your library fills the main window: covers, grouped by author, with your Series, Tags, and Collections in the sidebar on the left. Click any book, then Read to open it.
5. Where to go next
- Choosing & Switching Libraries — if you'd like more than one library (for example, separate ones for different family members).
- Cloud Storage — keep a library in Amazon S3/an S3-compatible provider, Google Drive, or OneDrive instead of only on this computer.
- Organizing Your Library — authors, series, tags, and collections.
- Reading Books — using the built-in reader.
- Settings & Preferences — language, appearance, and more.
If anything doesn't work the way you expect, check Troubleshooting & FAQ — or click the Help button in the title bar any time you need this guide again.